
News and Events
Packing Prep Tips for Home Tech
Moving is a lot of work.
There are a million tasks in between you and your new place. You schedule movers. Change your address. Pack everything into boxes. All of this can be quite an undertaking!
One key portion of the big move is transitioning all your technology over to the new place. This requires a little extra attention to ensure a smooth process.
To help, here’s a checklist for moving your TVs, computers, smart home devices and more!
Moving Midco services too?
Let us know at least two weeks before your move-in date. This way, we can ensure a smooth transfer of your services from point A to point B (if the new address is serviceable).
If you do not have existing Midco services but would like to at your new home, please check your address to see if it's serviceable. We'll help you get connected too!
7-Step Tech Packing Checklist
Don’t make moving your technology more of a chore than needed. Set yourself up with the best experience possible by following these steps. The earlier you think about setting up your internet, TV and/or home security services at your new place, the better.
1. Take stock of your technology.
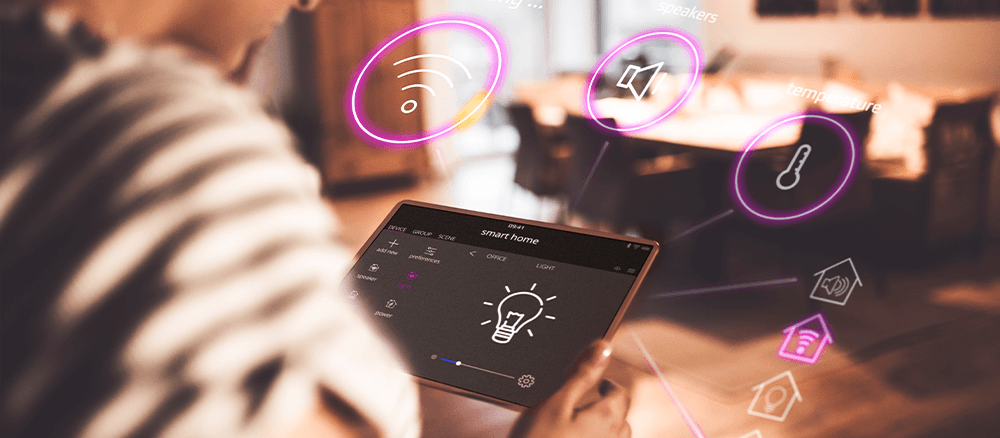
Think about all your different electronics and internet-connected devices. On a basic level, there’s your modem or optical network unit, computer, tablets and TVs. In addition, you may also own security cameras, smart door locks, stereos, thermostats, gaming consoles, robot vacuums, etc. Consider all of this so you have awareness of the technology you own.
2. Organize cables and components before boxing.
Computers, TV sets and gaming consoles all come with cables like HDMI, VGA, DVI, etc. Plus, you have smaller components like remotes, keyboards, chargers and controllers. Group each of the related items to keep it all straight. This way, when it comes time to set everything back up again you can do so with ease.
3. Gather materials for protecting equipment.
Handle all your gadgets with care. The original boxes the items came in are designed to offer the best protection (thicker cardboard, double walls). If you’re not able to repurpose this packaging, there are materials out there that can offer protection and organization. These include:
- Twist ties
- Scissors
- Rubber bands
- Bubble wrap
- Newspaper
- Packing paper or peanuts
- Foam wrap cushions
- Strong packing tape
- Markers (for labelling)
3. Prep your tech for packing.
Plan as much as you can before the move. Take photos of your electronic devices before disconnecting to remind yourself of how the cables all connect. This will save you so much time when reconnecting everywhere.
To avoid having to untangle cables, use rubber bands or twist ties to roll them up. Place smaller items like remotes and batteries within individual bags to keep it all straight.
Moving is also a great excuse to clean and disinfect your items. Wipe off your electronics so you don’t carry over a mess to your new place when unboxing.
4. Start boxing up everything.
Now that you have the supplies and preparation squared away, it’s time to start packing! Use bubble wrap, newspaper, foam wrap cushions or packing paper/peanuts (noted under step two) to add layers of protection between items within boxes. This way, any movement during the moving process won’t harm your equipment. Use tape to secure bundles of items.
When placing multiple items in a box, store the heavier items on bottom. The lighter items should go on top to avoid damage. Try to fill in every space to keep it all nice and snug.
6. Seal and label your boxes!
Before sealing, place another layer of protective cushion on top. Then, apply the packing tape all over the box (including the bottom) to secure everything.
Make your life even easier by adding labels to your boxes. You can include a list of the items inside, the name of the room where they belong and any handling instructions required.
7. Take stock of your technology needs.
After you’re finished packing, it could become apparent that your technology needs may change. If this is the case, will your current internet plan have enough speed for all your devices? Do you need to add or adjust TV services?
Learn about how bandwidth works and get our speed recommendations for your lifestyle. Or, after you get moved in and reconnected, you can test your speed to see how it’s going.
Self-install equipment on your own time.
Once you're ready to settle in after the move, it’s time to reconnect.
Pro tip: Keep your existing Wi-Fi name and password. This way, you can easily connect all smart home devices at your new place.
Remember, modem placement is key to distributing an even signal throughout your new place. Find a central spot and put it on a shelf or table to keep it off the floor. Make sure an Ethernet port is nearby. If needed, Midco Wi-Fi pods can extend your signal if you’re moving to a split-level or larger home.
If you want to re-activate your Midco services on your own time, self-install is an option. (Note: Self-installation will vary based on service and equipment type, as well as some in-home factors.) We offer both self-installation and professional installation for moving services – all depending on your preference! We also provide detailed steps for self-installing to make it an easy, stress-free process.
Move your Midco equipment with you.
Getting ready to move to a new home? Find answers to the top questions our customers ask and see what you need to do before and after your move.
